Before You Start
You should already have a WordPress login account with a user/password combination. If not, please contact me to have a user account created for you on your new site.
Editing with WordPress
Login to your site. Your login page is probably something like http://YOURSITEURLHERE.COM/login.
Accessing Your Pages & Posts
“What’s the difference between pages and posts?”, you may ask.
Pages are meant to be static content, such as your ‘Services’ or ‘About’ pages. While WordPress does store the publish date of a page, pages are essentially timeless entities and aren’t necessarily meant to invite comments or be shared socially.
Posts are meant to be timely and make up the content of your blog (if you have one on your site). Unlike pages, they can be organized and grouped by date or a specific category. They’re also a great way to keep your site fresh, attract new visitors, and publish time-sensitive news about your business or your industry.
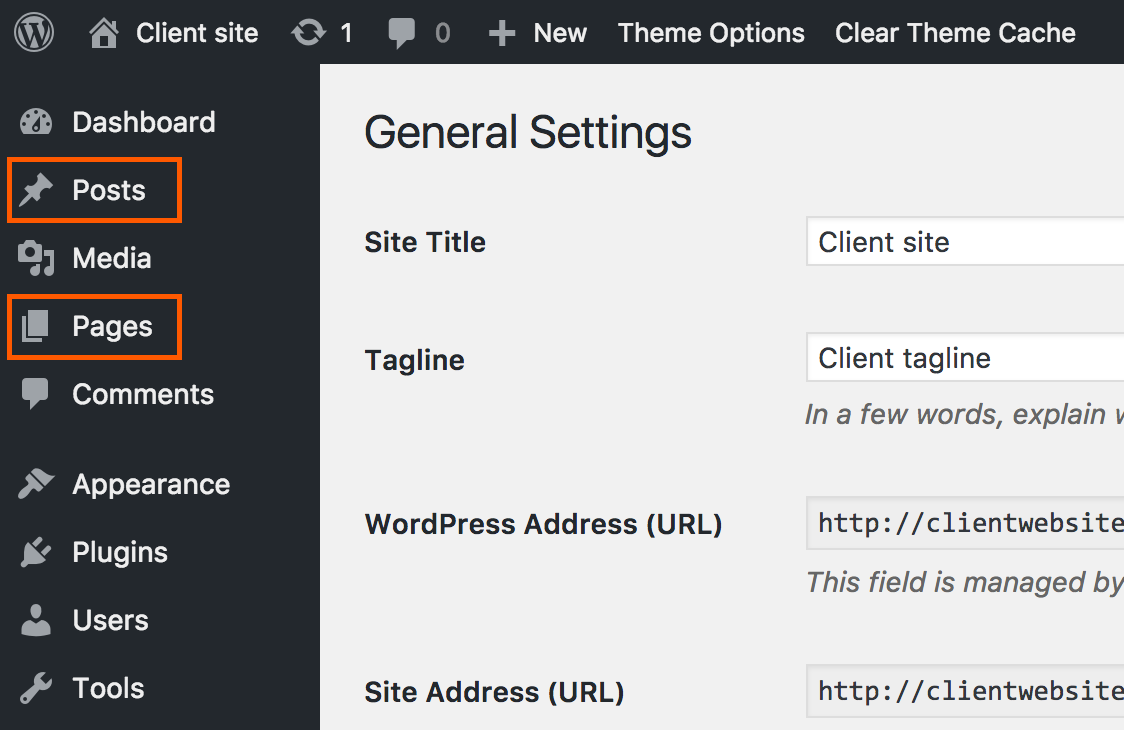
You can access the pages and posts on your site clicking on their respective link in the admin sidebar:
Opening Content for Editing
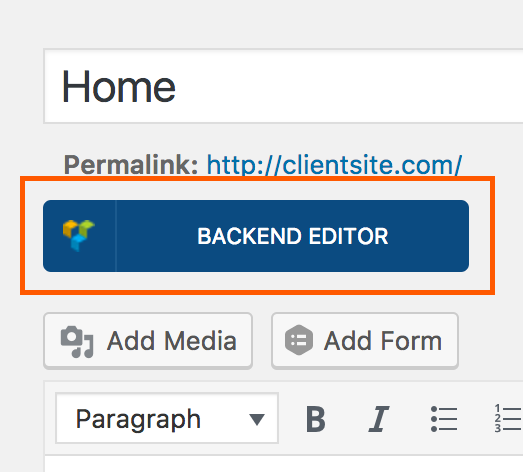
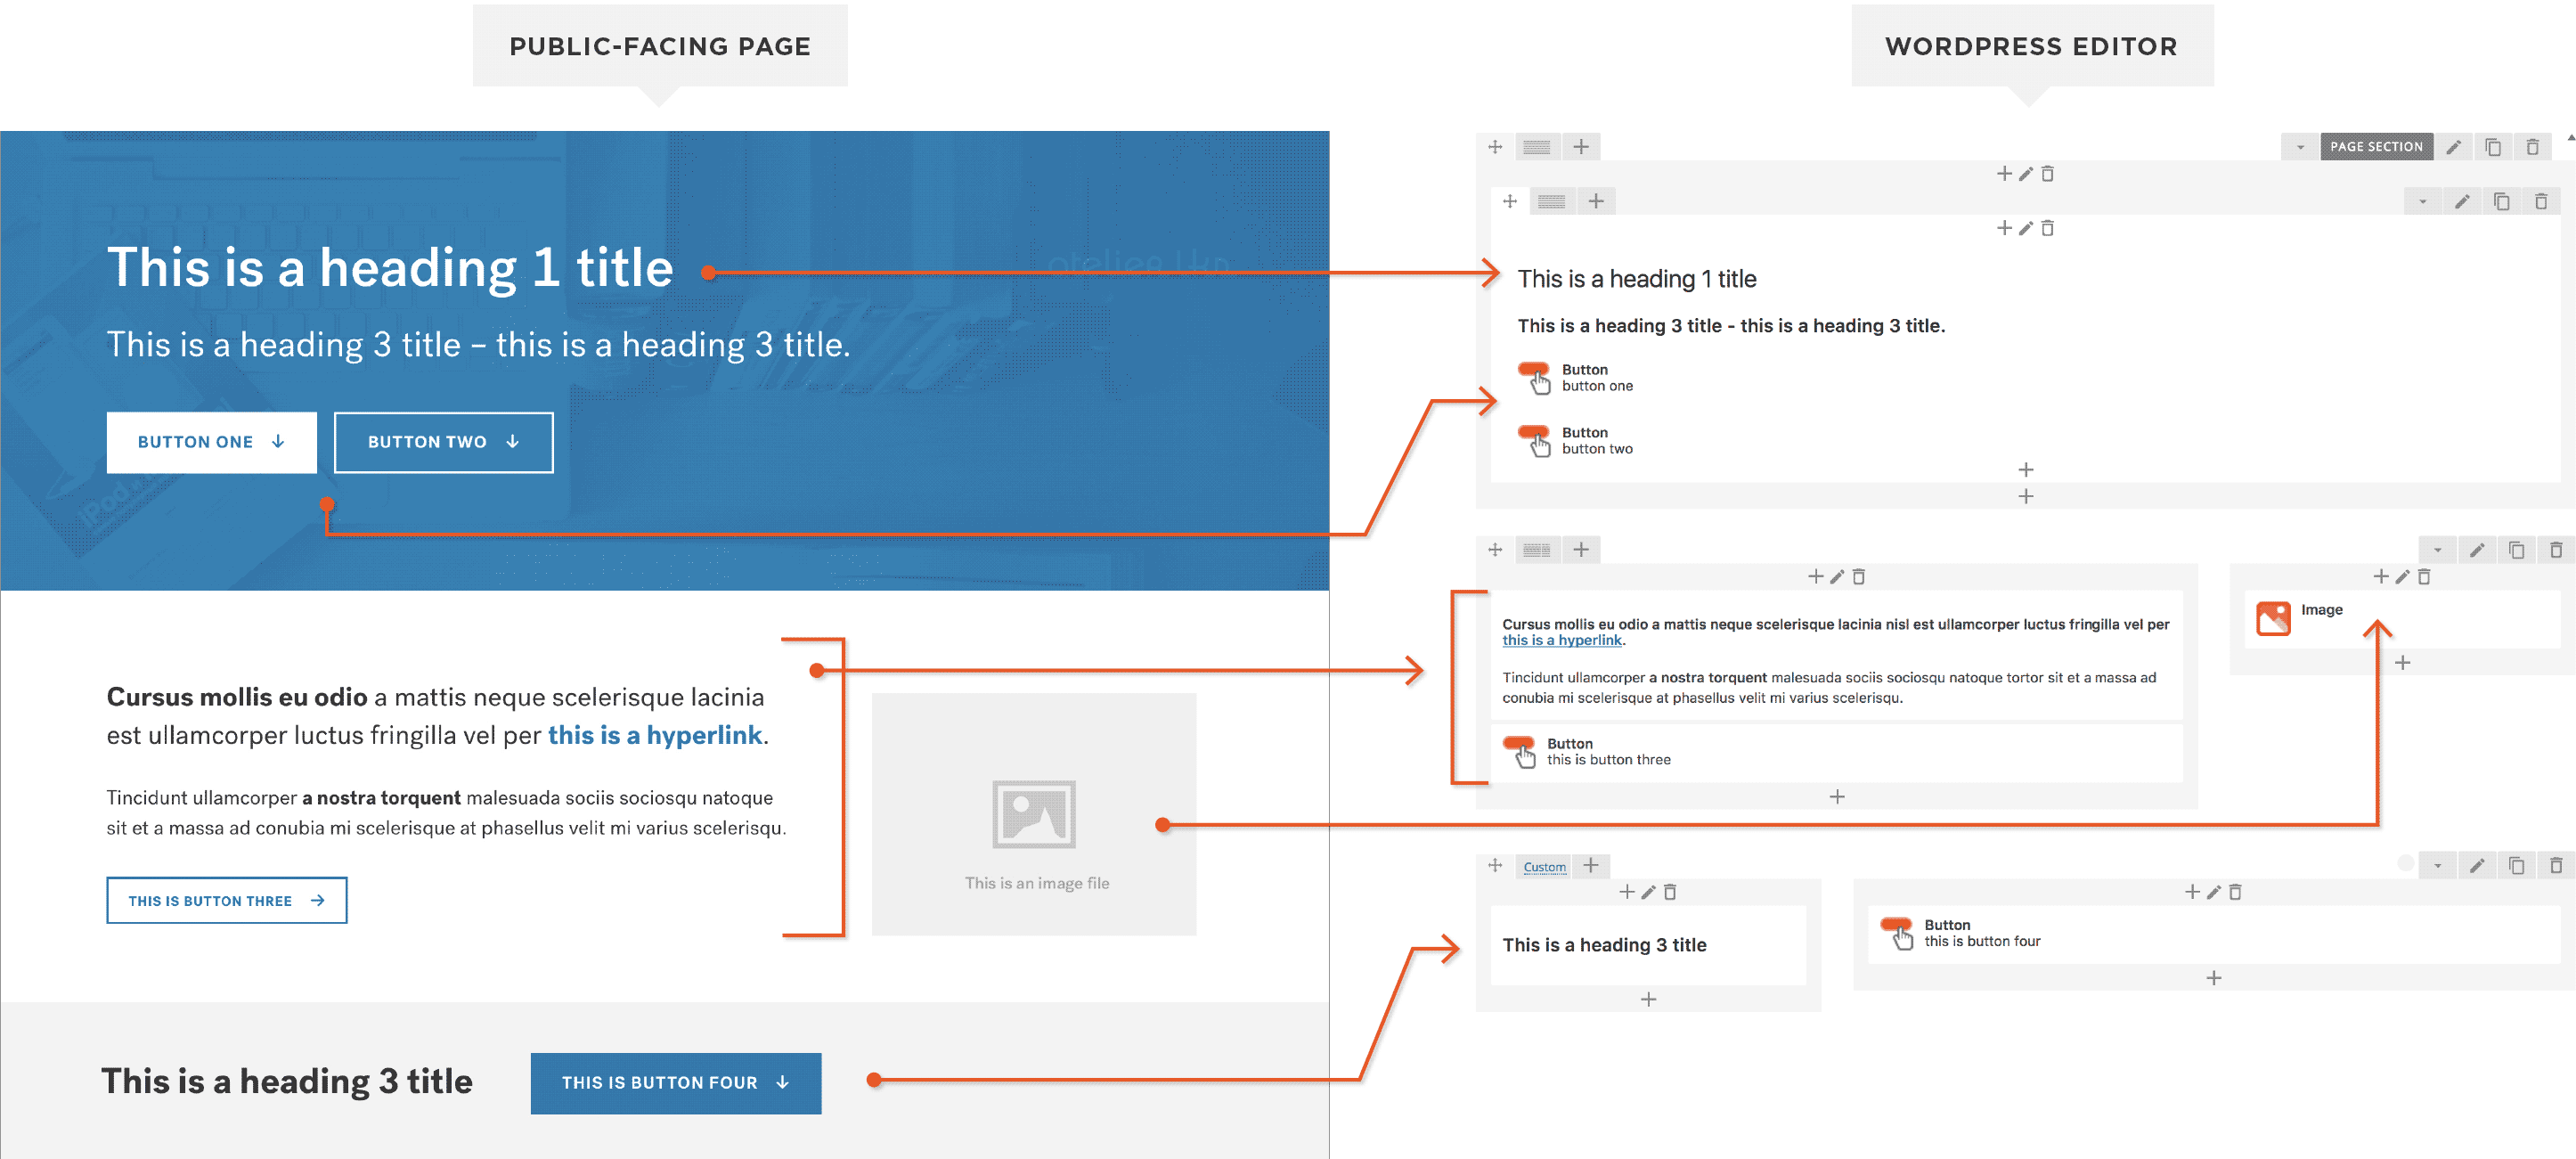
When you’ve selected and opened a page for editing, make sure you have the ‘Backend Editor’ turned on to enable the Visual Composer editing tool (this tool enables you to see the general structure of the page and easily identify where on the page you want to make your edits). If Visual Composer is not turned on, you should see a ‘Use Backend Editor’ button at the top of the editing area – click it and you’ll see the page reload with appropriate blocks in the editing area (this view doesn’t show the full page design, but it does enable you to easily identify and edit the various areas of a page).
When you begin editing, it’s helpful to have two versions of your page open in separate tabs in your browser: the public view and the editing view. Compare what you see on the public view of the page to the blocks you see on the editing page when Visual Composer is turned on – this is how you’ll identify where to begin editing.
Mouse over the text block or image you’d like to edit – you should see a green ‘Text block’ or ‘Image’ rectangle appear. Click the pencil icon to edit the block (avoid clicking on the other icons, as you may accidentally duplicate or delete the block).
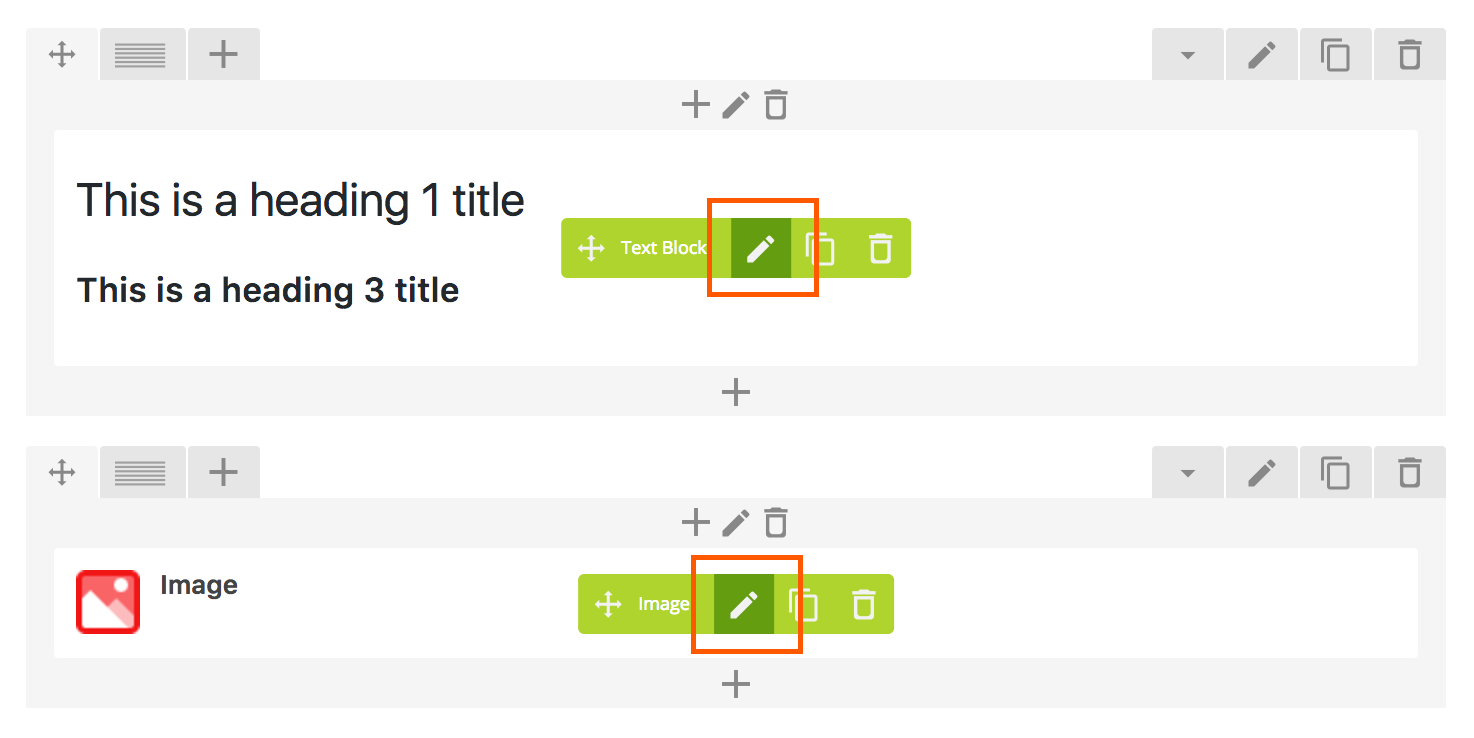
tipIt’s a good idea to restrict your editing to the text and image blocks – there are other elements on the page that are styled and positioned especially and some duplicated elements that display only on mobile screens.
Editing & Saving Content
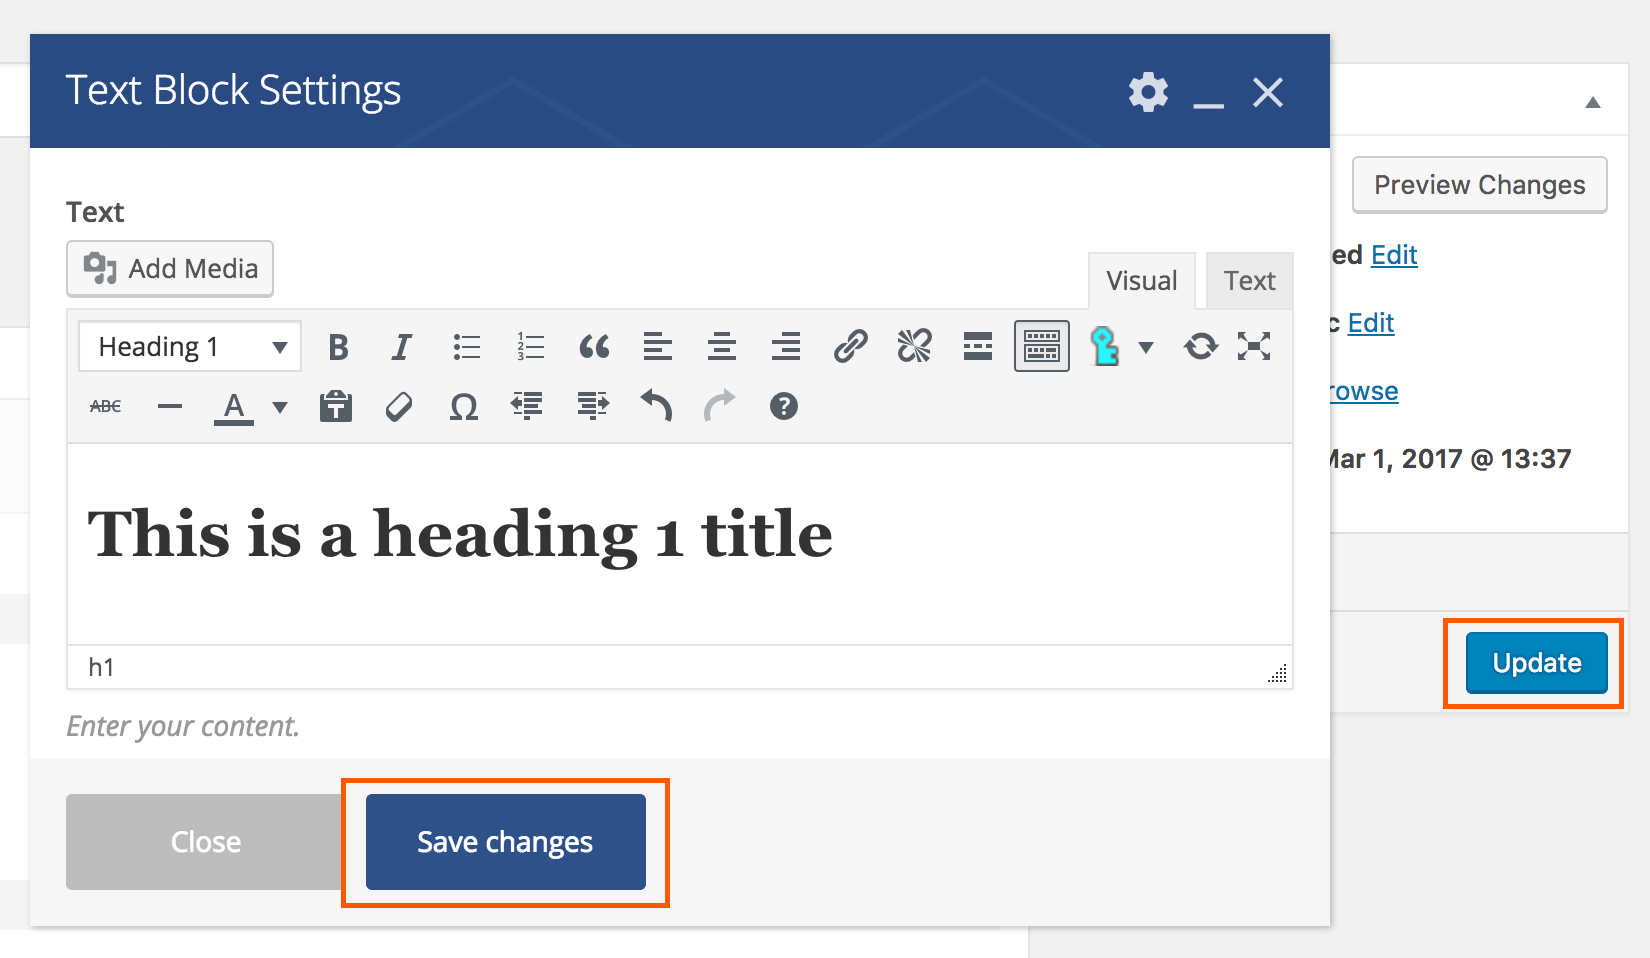
Once you’ve clicked the pencil icon to edit an element, you’ll see a popup of the editing area. Edit the content as you like.
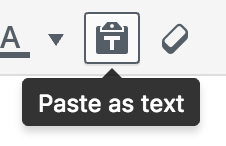
NOTE: When copying & pasting content from another source, the formatting on that content can unpredictably alter your site’s layout. Always hit the ‘Paste as Text’ icon before pasting your text (for example, from a web page, a Word doc or Google doc).
Once you’re finished editing, hit the ‘Save Changes’ button on the popup window, then hit the ‘Update’ button on the main area (don’t forget to hit the ‘Save changes’ button before the ‘Update’ button, otherwise the changes you just made will be lost!).
Still have questions?
Events & Tickets
If your site has an event platform installed, chances are you have an event or two already created for you.
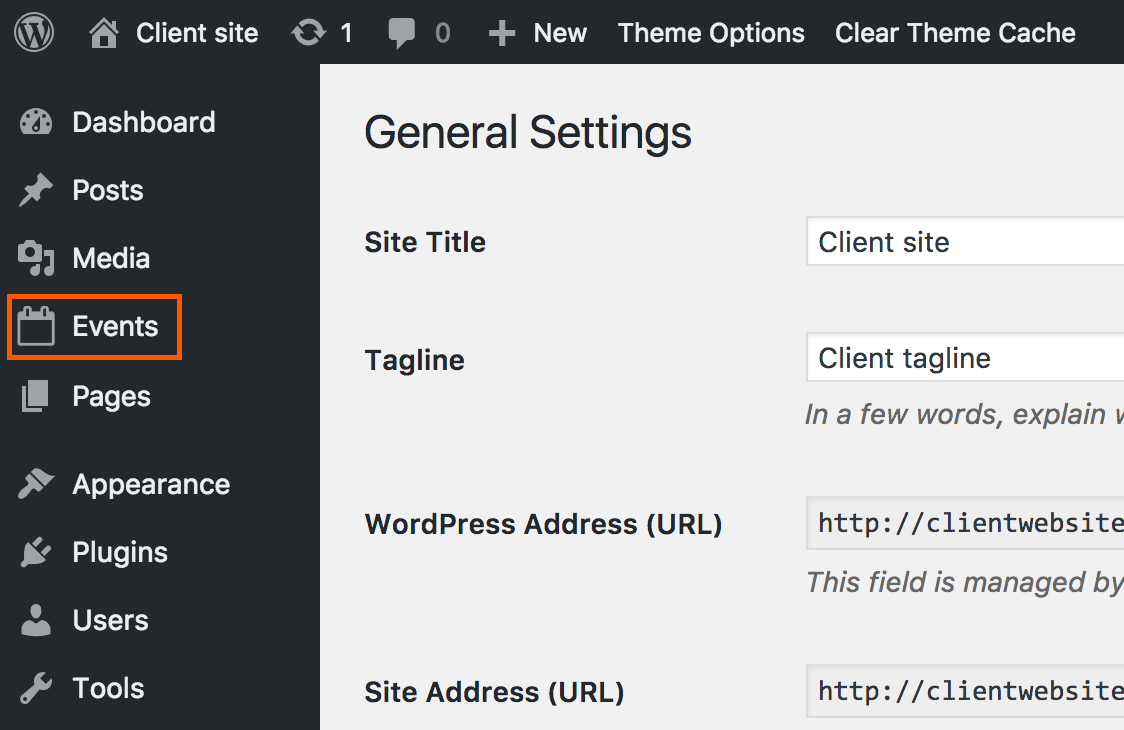
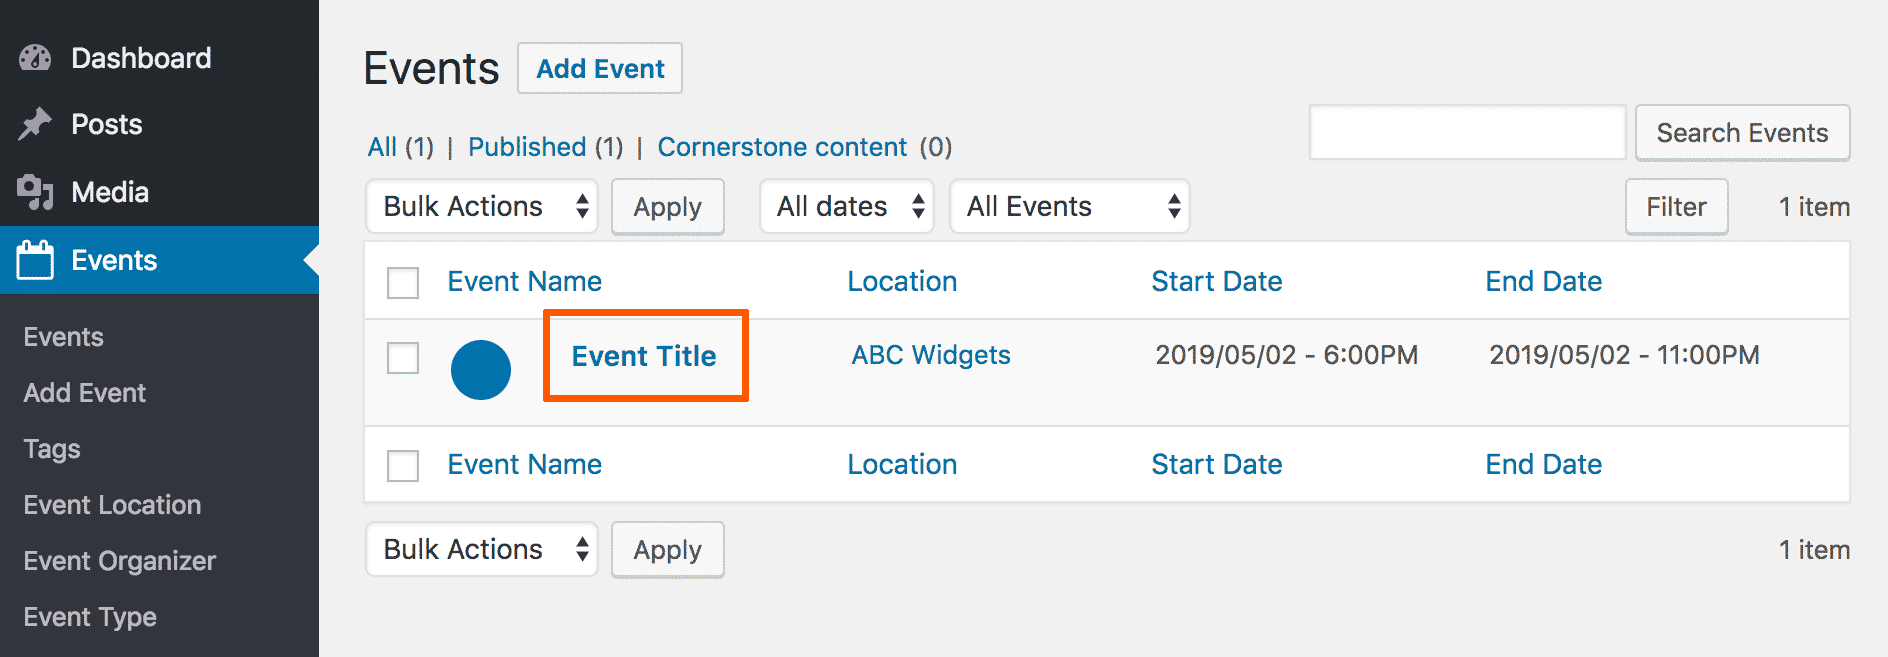
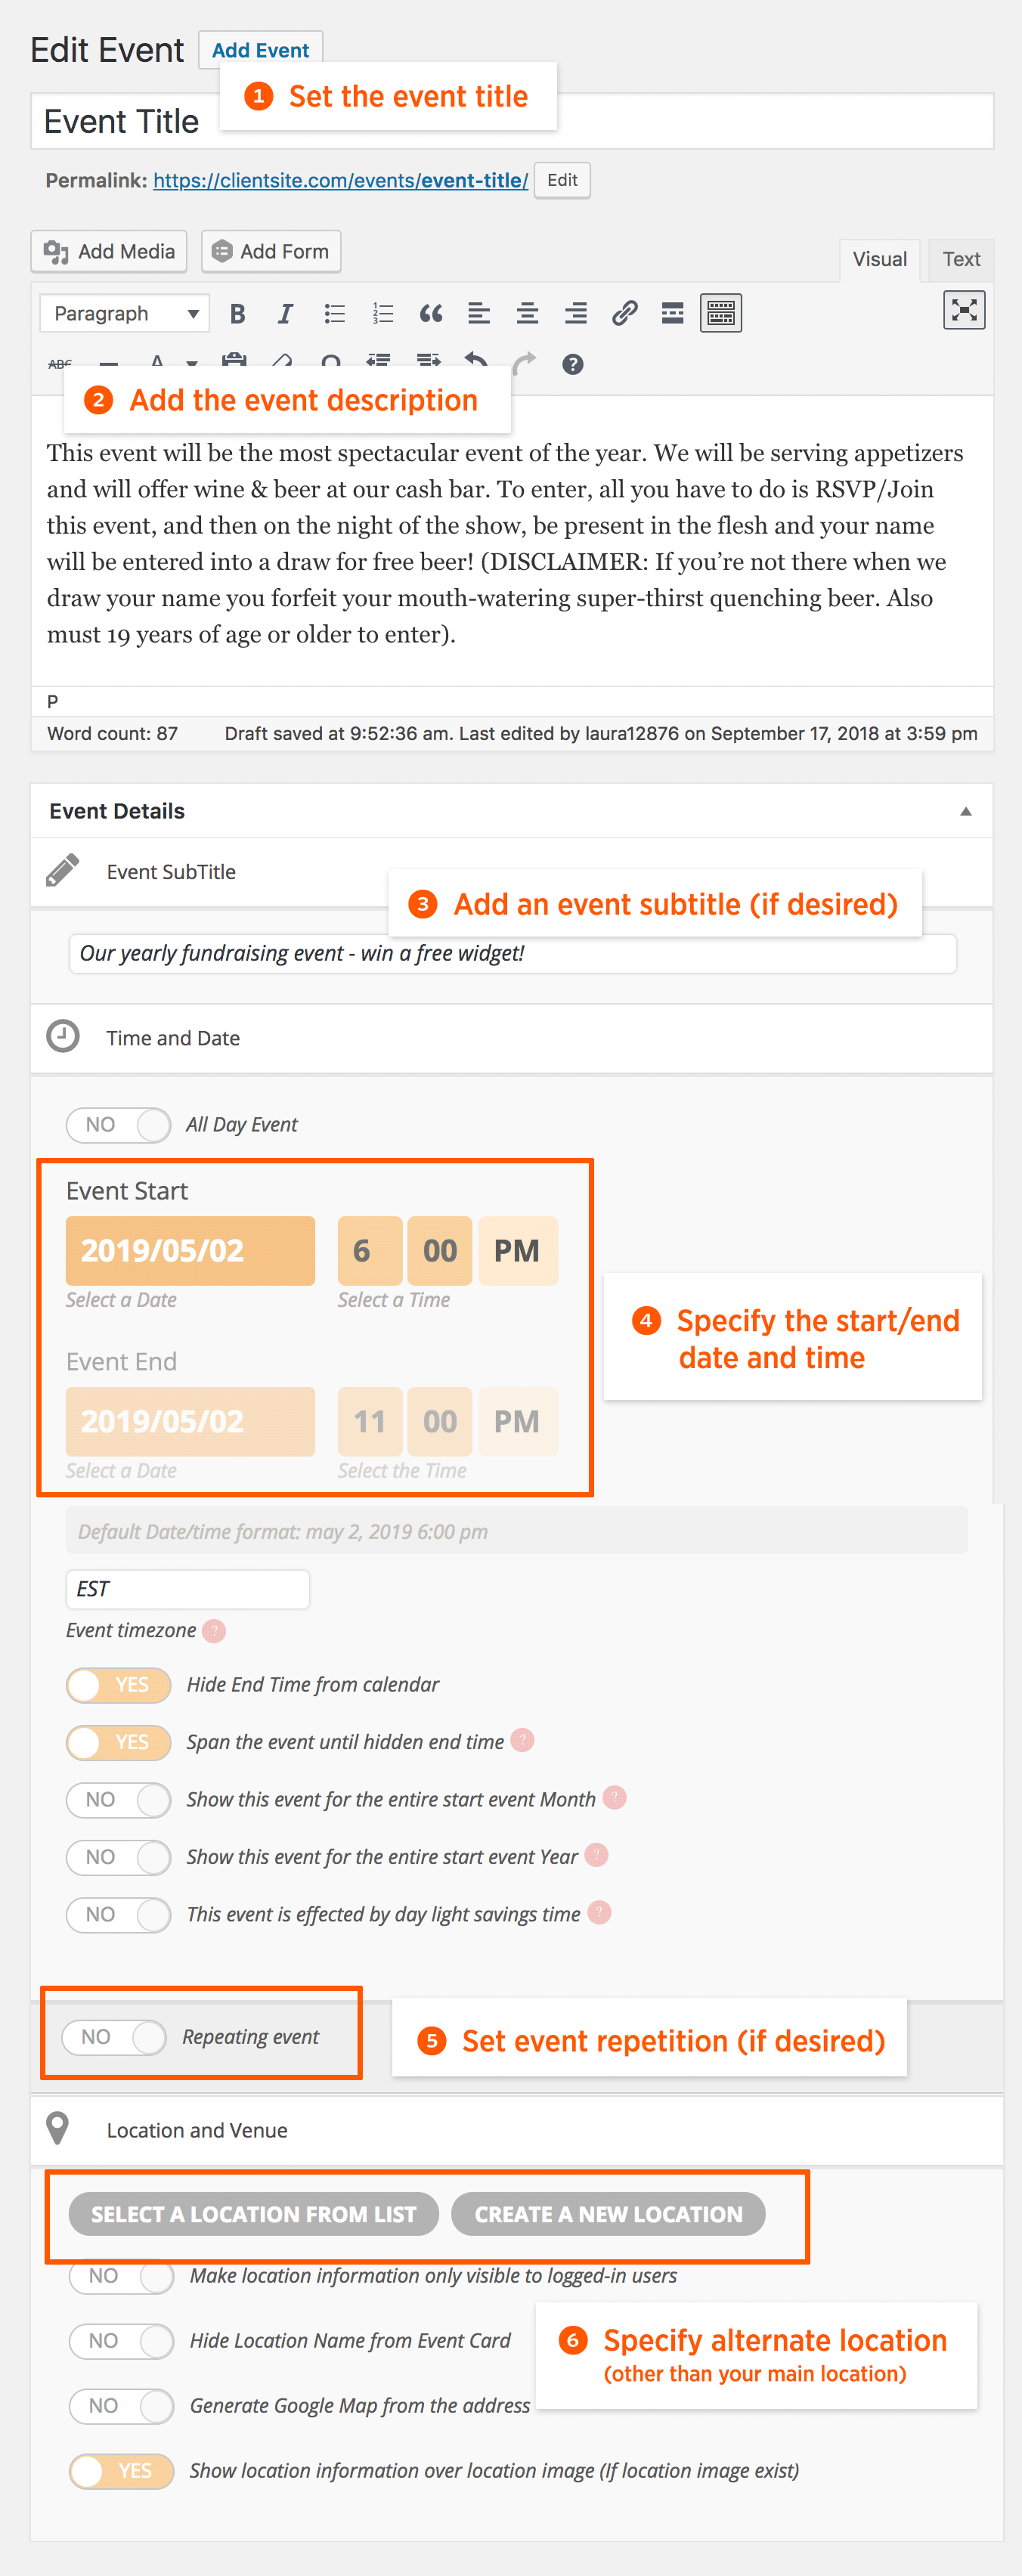
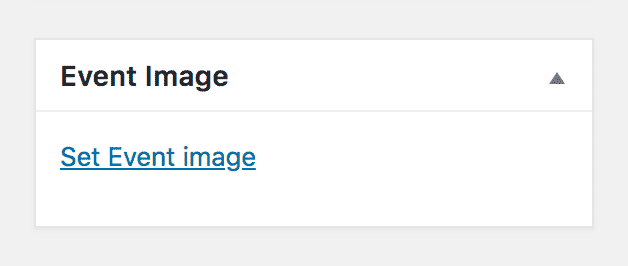
Editing and creating events is very similar to editing posts and pages. Here’s a step-by-step process for how to set up an event on your site:
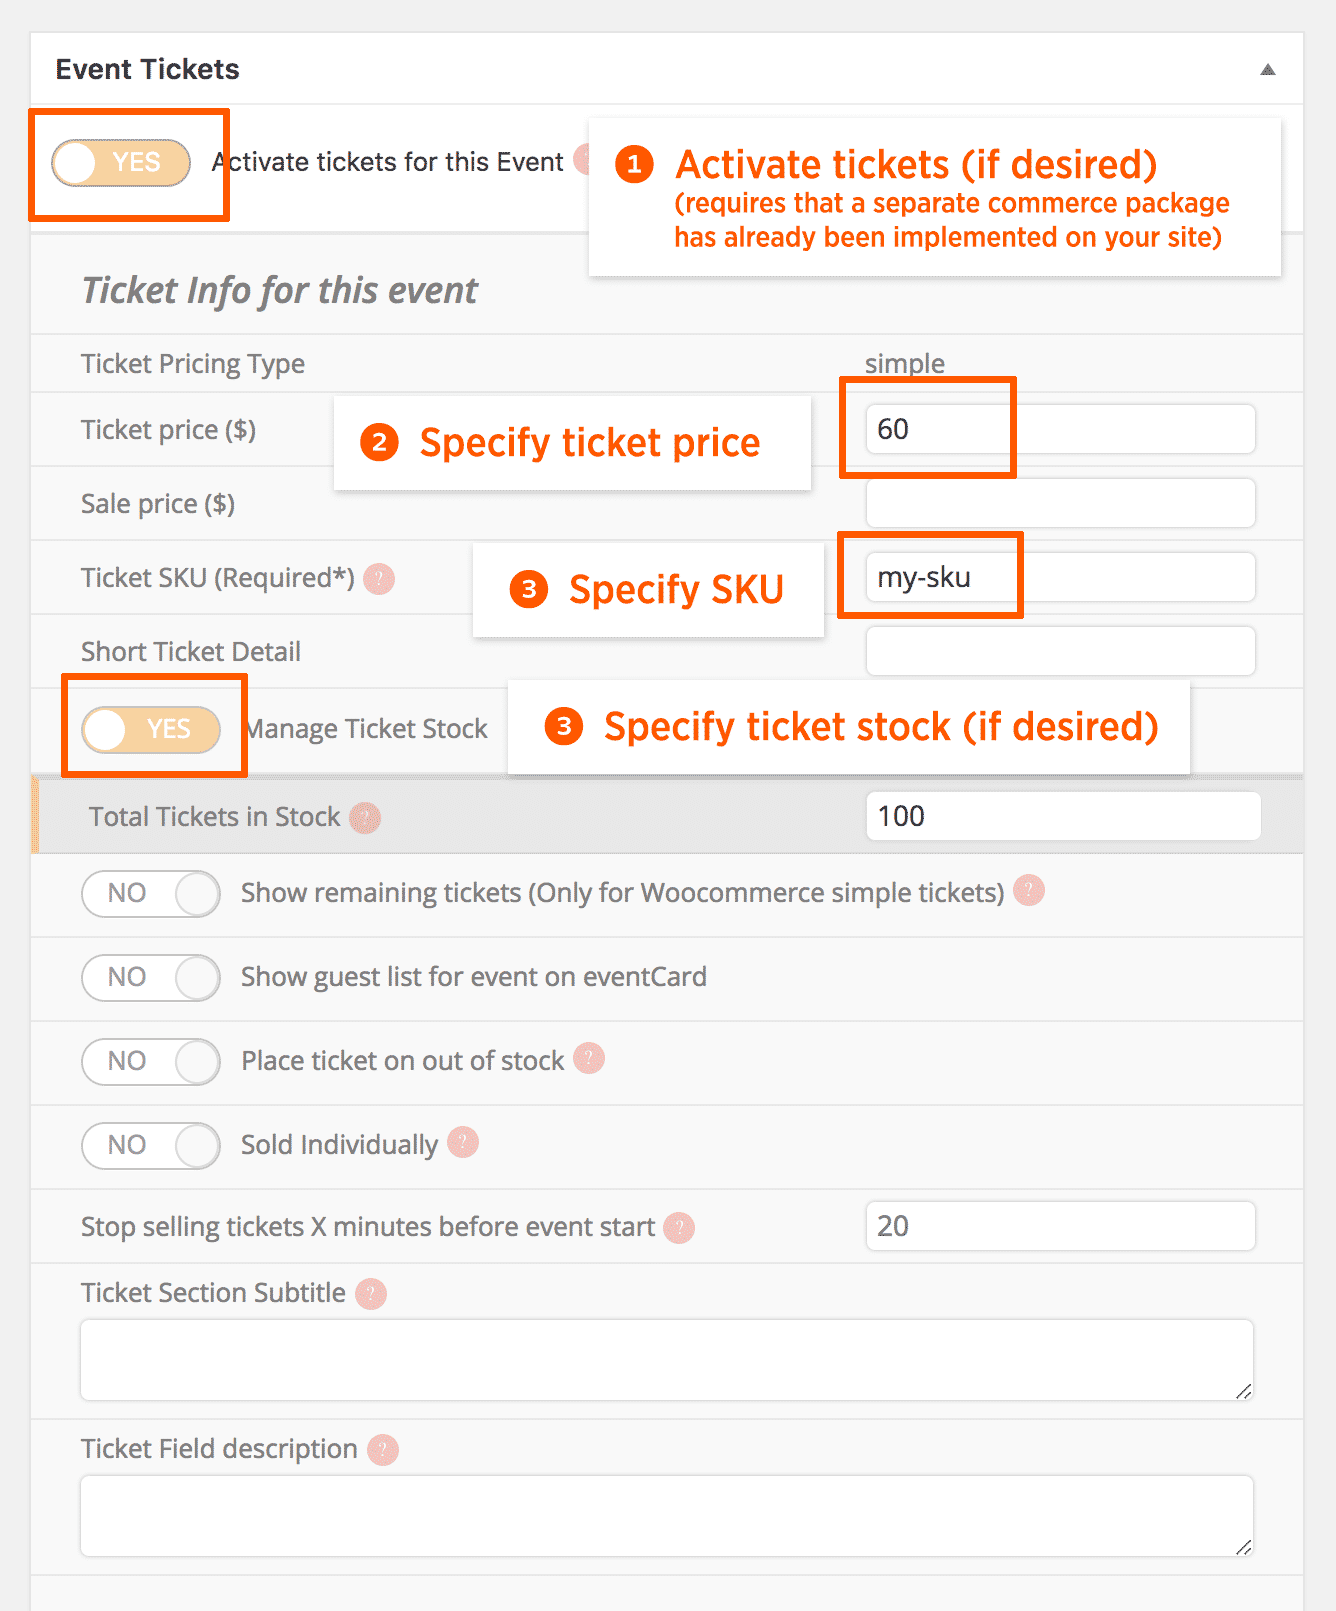
Tickets
If you have the ticket extension implemented on your website (which requires implementation of the Woocommerce platform), you can easily edit ticket details right within a single event:
